The step by step guide on how to break in a leather holster

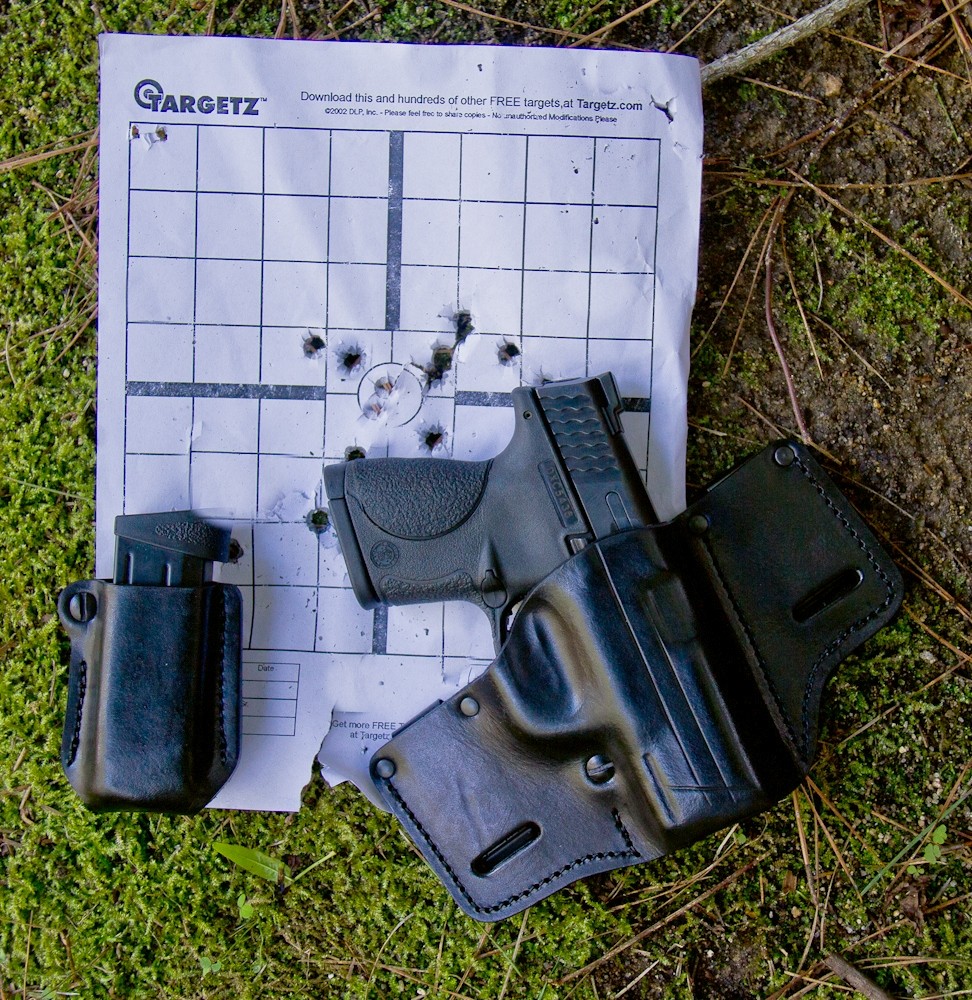
Some folks just want a holster that will keep their holster secure, while also providing a comfortable carry. It does not really matter to them if the holster is made from military grade polymers, Nylon or leather! However some discerning gun owners prefer to have holster that also look good, provide exceptional comfort and be durable enough to last a really long time. These gun owners generally prefer to invest in a really good quality leather holster!
What is so great about leather holsters?
If you just want a holster to keep your gun in when it is laying in the safe and for the occasional trip to the gun range, a basic Nylon holster is probably right for your needs. However if you are the type of person that carries regularly then a leather holster will probably give you better service, and there are good reasons for that. A leather holster typically looks better and more sophisticated than most other types of holsters, so if you are carrying unconcealed you want a holster that looks good on you. Leather is more moldable, so it provides a more snug fit than what nylon holster will have, while also molding better to your body for a comfortable carry. A really good quality holster will also last you a really long time if looked after, and the first step in that process is to break the holster in properly.
The steps to breaking in a leather holster
The problem with a leather holster is that you usually cannot start using it right from the start. When it is brand new it will still be stiff and your weapon is most likely to have difficulty fitting into the holster without a lot of effort. So when you get your new leather holster you are going to need to break the leather in first to help make holstering your holster easier and quicker. But before we get to breaking in the leather, there are some things we need to do first!
Preparation
Safety first
As part of the process, you are going to be using the gun that you will be keeping in the particular holster. So before you start, make sure the gun is not loaded (don’t forget any bullets in the chamber!) and the safety is on.
Check the inside of your new holster
Some holster do have screws/rivets/metal pieces that stick out on the inside of the holster. Those bits can cause some ugly scratches to your gun. A quick fix is to use some tape over the pieces of metal.
Breaking in the leather
Once you have done your prep and made sure your weapon is secure, you can start with the process of breaking in the leather. There are two basic techniques that you can follow to break in a holster, namely the stretching technique and the plastic bag technique.
The first technique is to simply insert and take your gun out of the holster repeatedly to stretch the holster. This does take some time and patience though. For this technique to be successful, there are a few things that you need to keep in mind for it to be successful:
- Make sure your holster is made for your specific model of firearm.
- Work and manipulate the leather – it does take time, so be patient.
- Do not use mink oil or needs foot oil on your holster – it makes it too supple.
- You can use mild soap and water to clean your holster.
- Keep your holster moisturised.
The guys over at OpticsPlanet.com gives a really in depth video tutorial on how to break in your holster through consistent stretching and manipulation:
With the second technique you use a plastic bag wrapped over the gun. You place the plastic bag wrapped gun in the holster and leave it in the holster overnight. The following morning you can test the fit of the gun on the holster. If it is still a bit too snug, draw the gun several times to stretch the holster a little bit.You can also use wax paper with this method. If you use wax paper, make sure the wax is out toward the holster, not toward the gun.
The guys from Galco Gunleather shows you how to use the bag technique in the video below:
Wrapping things up
A good quality holster is a thing of beauty and will last you a long time if you treat it well. Breaking in a leather holster can take some time and patience, but is definitely worth it. Be careful not to use oils or lubricants that will make your holster too soft and lose its grip, and be sure to use the right gun for which the holster was designed to fit.
We hope you found this useful! Happy shooting!
This article was contributed by SmokingBarrelUSA.com